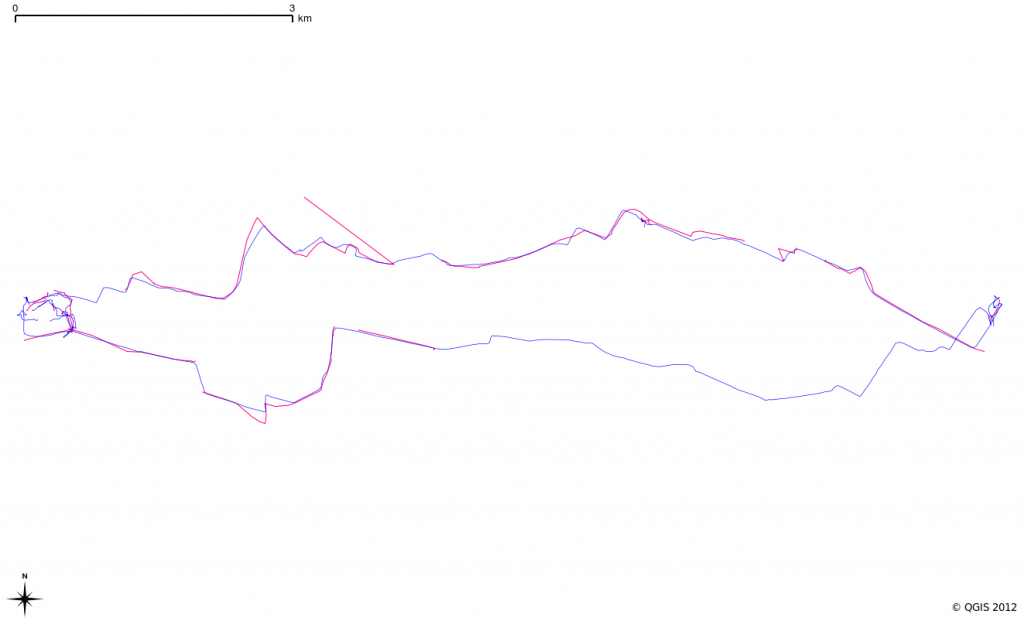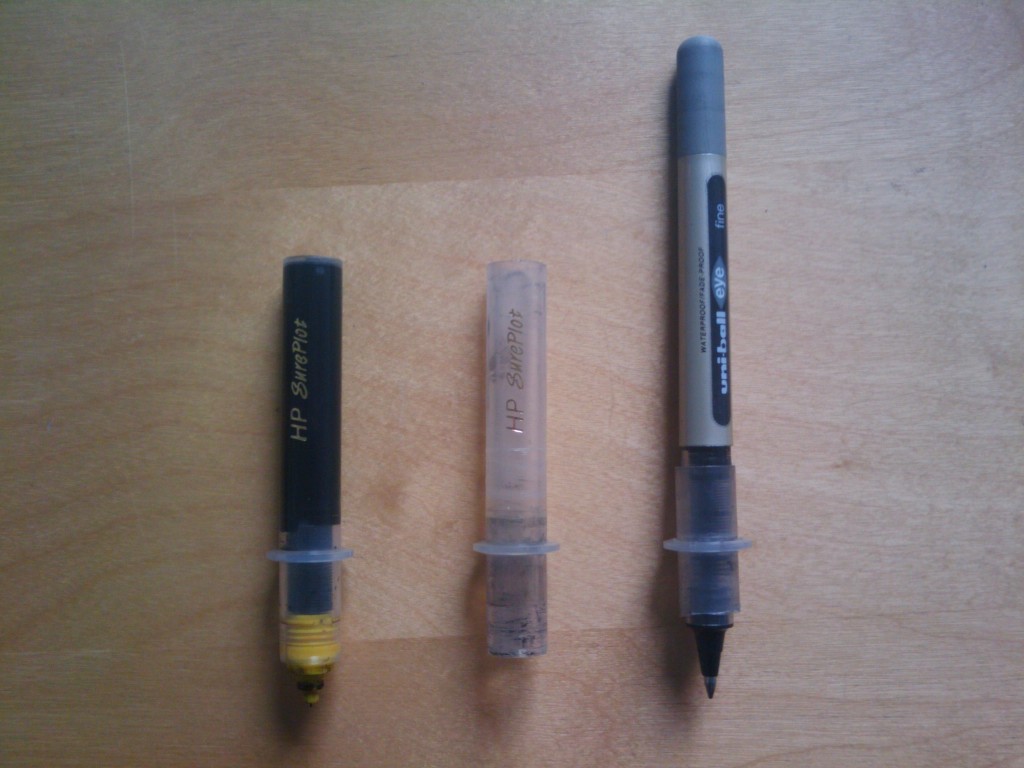
From original pen to holder
I’ve been making progress with our pen plotter since I last wrote. Now I’ve simplified the process and am working with some pens I’m very happy with. After consulting with Christophe when I popped into the friendly Open Design City Baustelmontag, I decided to take his advice and rather than build something from scratch, or design and fabricate something with their 3D printer, I would adapt the materials I have.
The task then, is to take one of the (broken thanks to using paper that clogged the tip) plotter pens, cut the top off (easier if there is no ink) – tip: it is easier to carefully use a sharp knife like a Stanley knife to do this rather than a hack saw and tap the nib section out. I found that once I’d cut the top off and cleaned the ink out, the nib section came out quite easily if I inserted a blunt chop stick into the barrel, used some other pen or a section of tubing on the pen end and tapped downwards on this tubing with a hammer. With the chopstick on a table pointing upwards and the pen on top, the chopstick pushes the nib section up out of the barrel while the barrel is tapped down by the tube on top (I know, a picture would be helpful but I didn’t take one – sorry).
This gets you to the second stage pictured in the middle. Once this is done, you might find that there is a plastic constriction where the flange is on the empty pen barrel. I was able to remove this by buying a 9mm HSS drill bit and reaming this plastic out by hand, simply holding the drill bit in my hands and turning it round the inside of the barrel.
Then you can cut the barrel down further (you don’t need so much length) and fit the pen of your choice. I was lucky that the Mitsubishi Uniball pen fits quite snugly in the empty barrel. If it is loose, you can wrap the pen with some masking tape until it is snug. You need to experiment a bit with where the barrel section (the adapter) sits up the shaft of the pen but after measuring an existing pen, I found that the distance from nib point to underneath the flange is 28mm, so I start there and do a test to make sure the pen is lifting off the paper and that its making a mark.
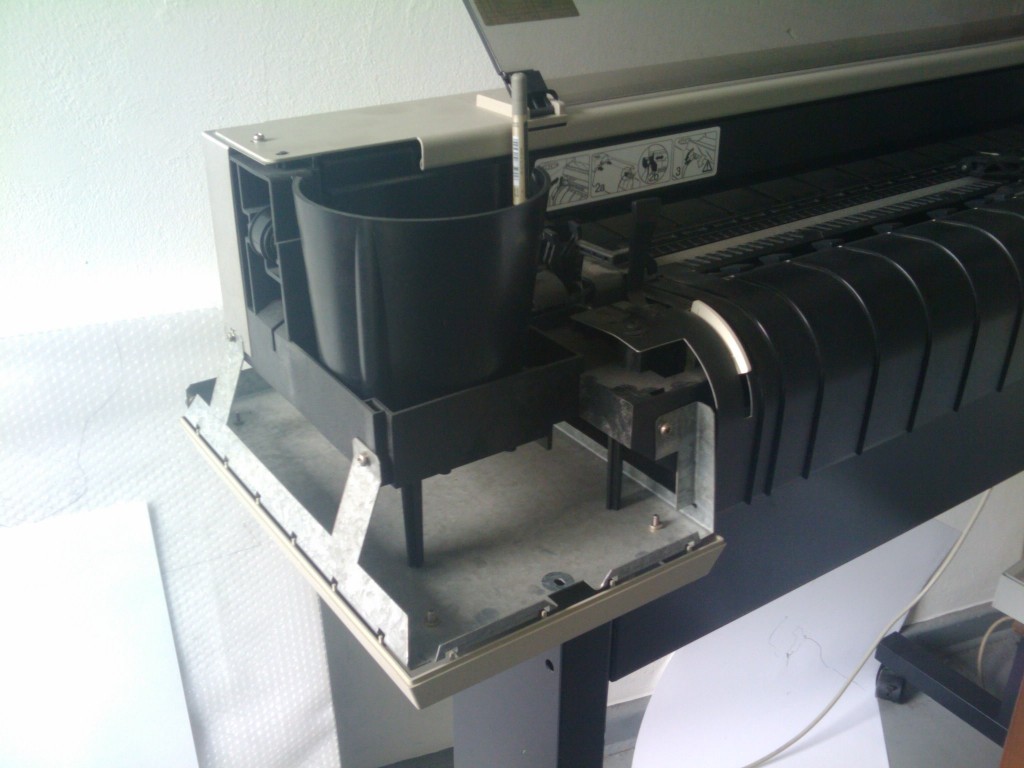
Carousel End of HP 7576A with Housing Removed
To actually get this to work in the plotter, you’ll need to take the housing off the carousel end as the pen is longer than the pens supplied with the printer. There are two screws at the back on the underneath and one at the front, then the casing comes off. The carousel is also too short to accept the pen now so I just put it directly in the pen arm which works without a problem. The cover has to remain up of course.
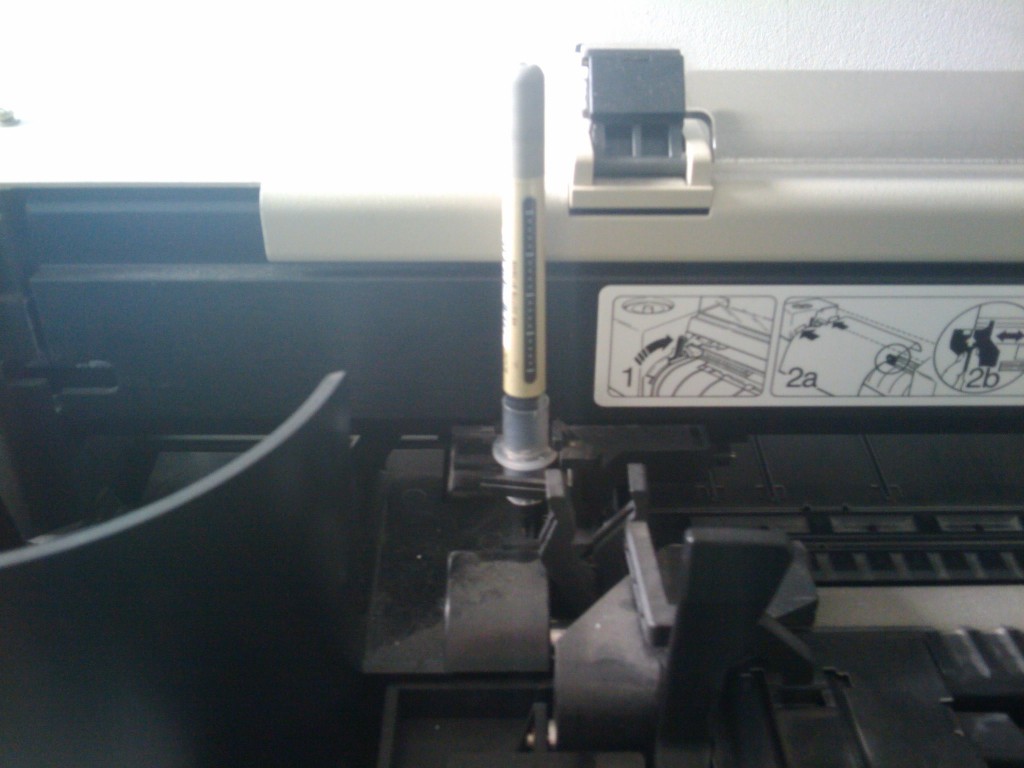
Adapted pen in position
I have been experimenting with using thinner paper than I would normally use (120gsm) and coated for inkjet use seems to work well, giving the lines a deep, black sootiness. I’m working with Tecco PMC 120 and happy so far.
Hope this helps or interests someone and happy hacking.

