Digital Dowsing inching forward

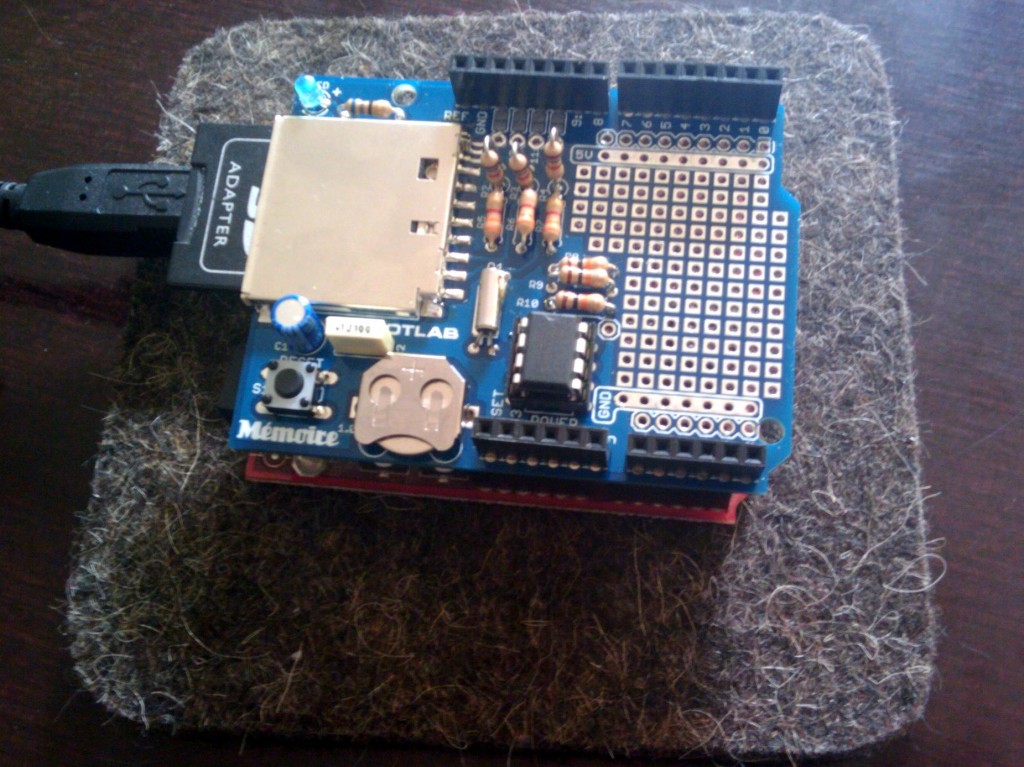
Looking back to the last post about this subject, I realise how long things take for me to get round to them. Especially if I haven’t done anything like it before. My venture into the world of microcontrollers and open hardware (Arduino and friends) inched forward this week with the arrival of the logging shield I ordered from Snootlab.

Snootlab Memoire Shield

Snootlab Memoire Shield

The reason I plumped for this one was that it has the DS1307 real time clock [RTC] on board which I’m hoping will stamp the recordings of the angle of the dowsing rods with time which I will be able to post-process and match with with the GPS data I’m hoping to read from the Septentrio loggers (still hoping to get centimetre accuracy out of those) that were made for us in Leuven for Crossing Paths.

Posted in Diary, Linux, Walking | Tagged , , | Comments Off on Digital Dowsing inching forward

Jacquard loom GPS visualisation

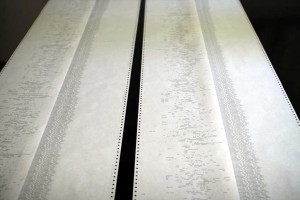
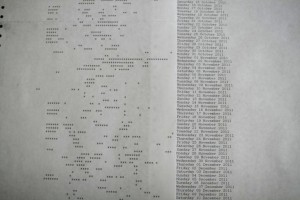
We are getting increasingly attracted to older ways of visualising our GPS data – getting it out of the digital and especially screen realm and into tangible, haptic objects. Last week, after helping Martin print some data he is working on on Miles’s dot matrix printer which is still down our studio, I was inspired to write some python code to query our GPS database and produce an ASCII-style visualisation of when we record data with our GPS and when not

GPS time chart on continuous paper

GPS time chart on continuous paper


GPS time chart on continuous paper - showing pattern and dates

GPS time chart on continuous paper – showing pattern and dates


What it seems to us to be crying out for is sending to a knitting machine, with its resonances of the earliest days of computing with punch-card data entry and its early industrial revolution forefather, the Jacquard loom

Posted in Code, Diary, GPS, Linux, Python | Tagged , , | Comments Off on Jacquard loom GPS visualisation

Pen Plotter Replacement Pen DIY V

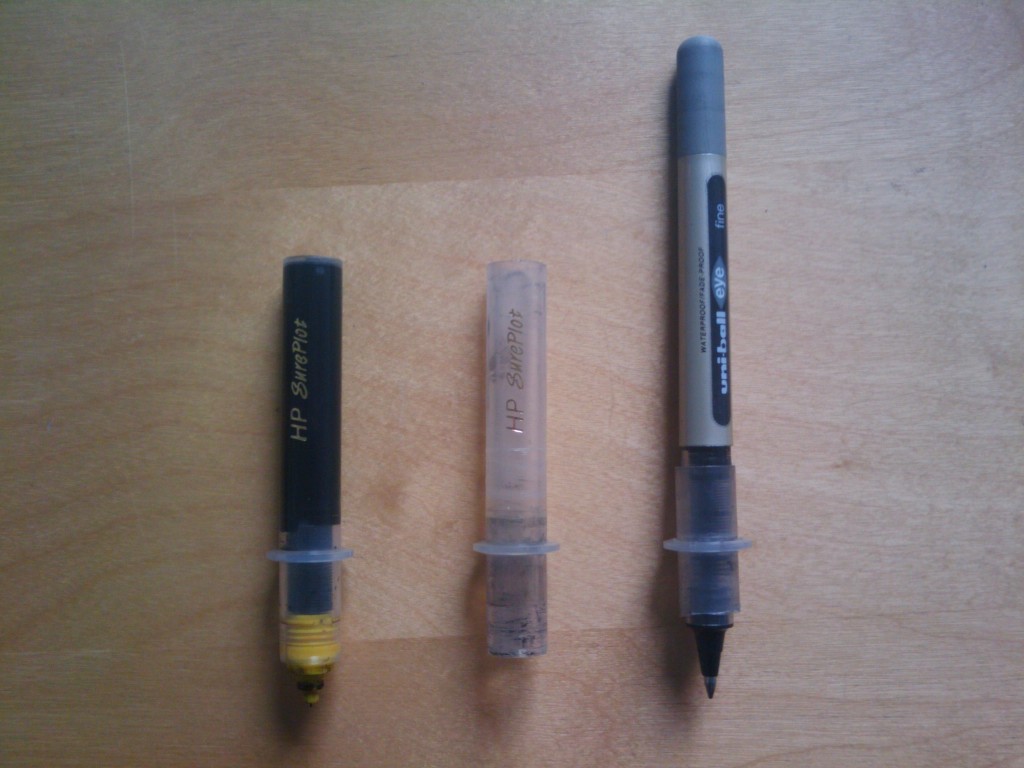
From original pen to holder

From original pen to holder

I’ve been making progress with our pen plotter since I last wrote. Now I’ve simplified the process and am working with some pens I’m very happy with. After consulting with Christophe when I popped into the friendly Open Design City Baustelmontag, I decided to take his advice and rather than build something from scratch, or design and fabricate something with their 3D printer, I would adapt the materials I have.

The task then, is to take one of the (broken thanks to using paper that clogged the tip) plotter pens, cut the top off (easier if there is no ink) – tip: it is easier to carefully use a sharp knife like a Stanley knife to do this rather than a hack saw and tap the nib section out. I found that once I’d cut the top off and cleaned the ink out, the nib section came out quite easily if I inserted a blunt chop stick into the barrel, used some other pen or a section of tubing on the pen end and tapped downwards on this tubing with a hammer. With the chopstick on a table pointing upwards and the pen on top, the chopstick pushes the nib section up out of the barrel while the barrel is tapped down by the tube on top (I know, a picture would be helpful but I didn’t take one – sorry).

This gets you to the second stage pictured in the middle. Once this is done, you might find that there is a plastic constriction where the flange is on the empty pen barrel. I was able to remove this by buying a 9mm HSS drill bit and reaming this plastic out by hand, simply holding the drill bit in my hands and turning it round the inside of the barrel.

Then you can cut the barrel down further (you don’t need so much length) and fit the pen of your choice. I was lucky that the Mitsubishi Uniball pen fits quite snugly in the empty barrel. If it is loose, you can wrap the pen with some masking tape until it is snug. You need to experiment a bit with where the barrel section (the adapter) sits up the shaft of the pen but after measuring an existing pen, I found that the distance from nib point to underneath the flange is 28mm, so I start there and do a test to make sure the pen is lifting off the paper and that its making a mark.
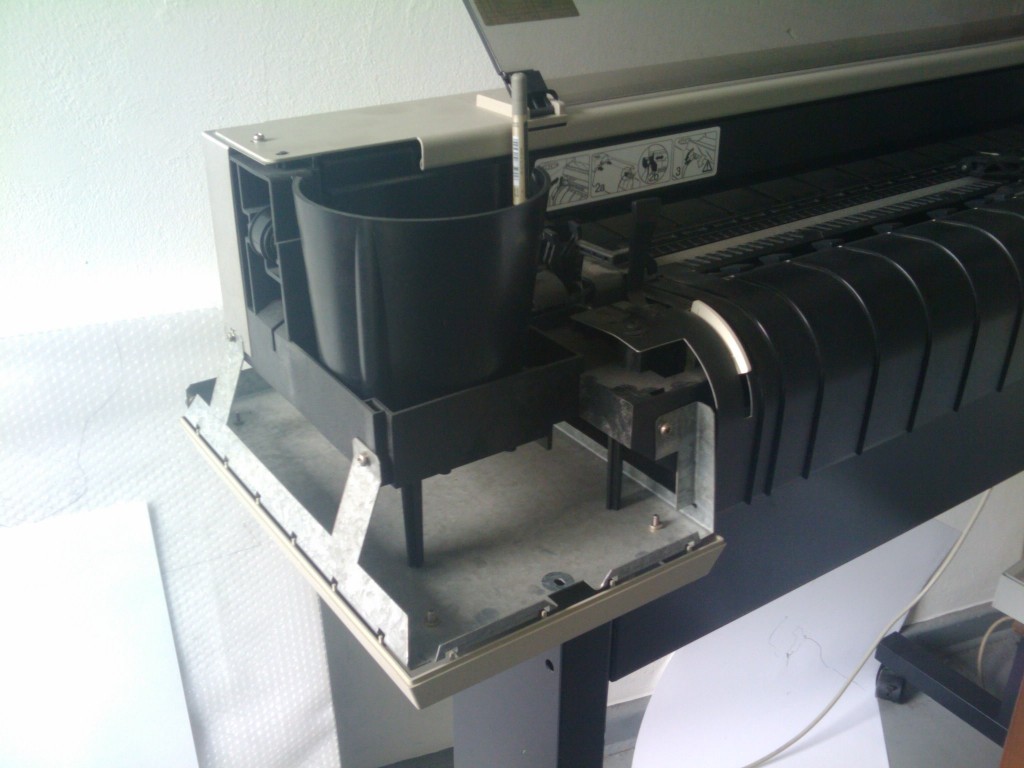
Carousel End of HP 7576A with Housing Removed

Carousel End of HP 7576A with Housing Removed

To actually get this to work in the plotter, you’ll need to take the housing off the carousel end as the pen is longer than the pens supplied with the printer. There are two screws at the back on the underneath and one at the front, then the casing comes off. The carousel is also too short to accept the pen now so I just put it directly in the pen arm which works without a problem. The cover has to remain up of course.
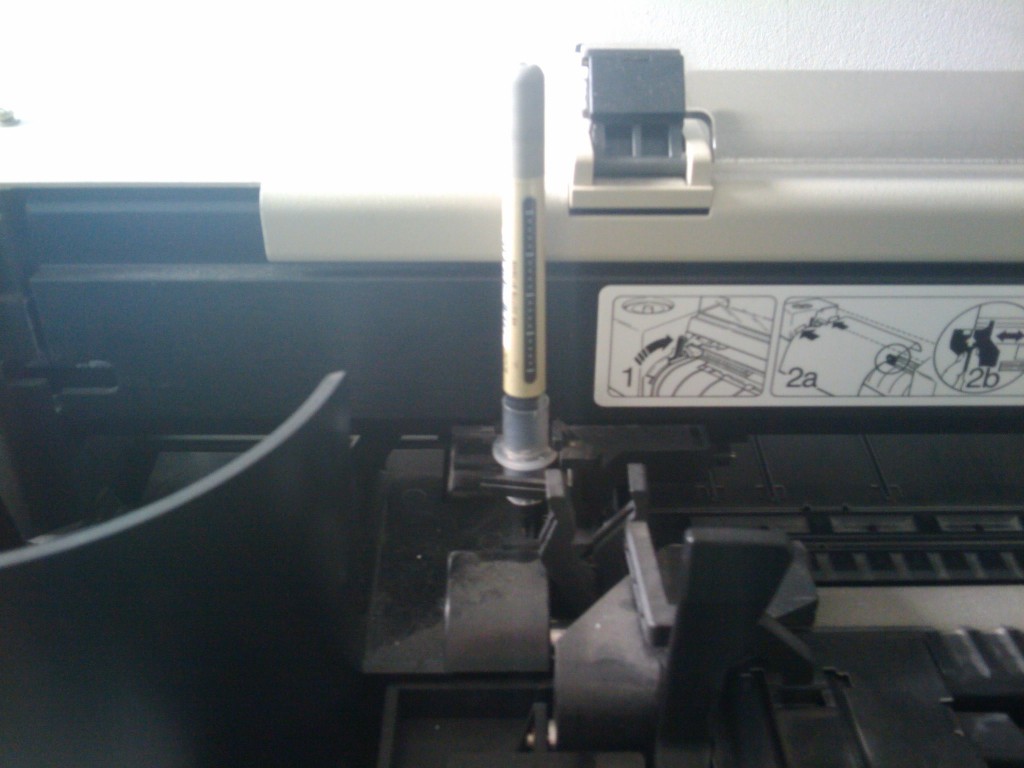
Adapted pen in position

Adapted pen in position

I have been experimenting with using thinner paper than I would normally use (120gsm) and coated for inkjet use seems to work well, giving the lines a deep, black sootiness. I’m working with Tecco PMC 120 and happy so far.

Hope this helps or interests someone and happy hacking.

Posted in Diary, GPS | Tagged , , , , | Comments Off on Pen Plotter Replacement Pen DIY V

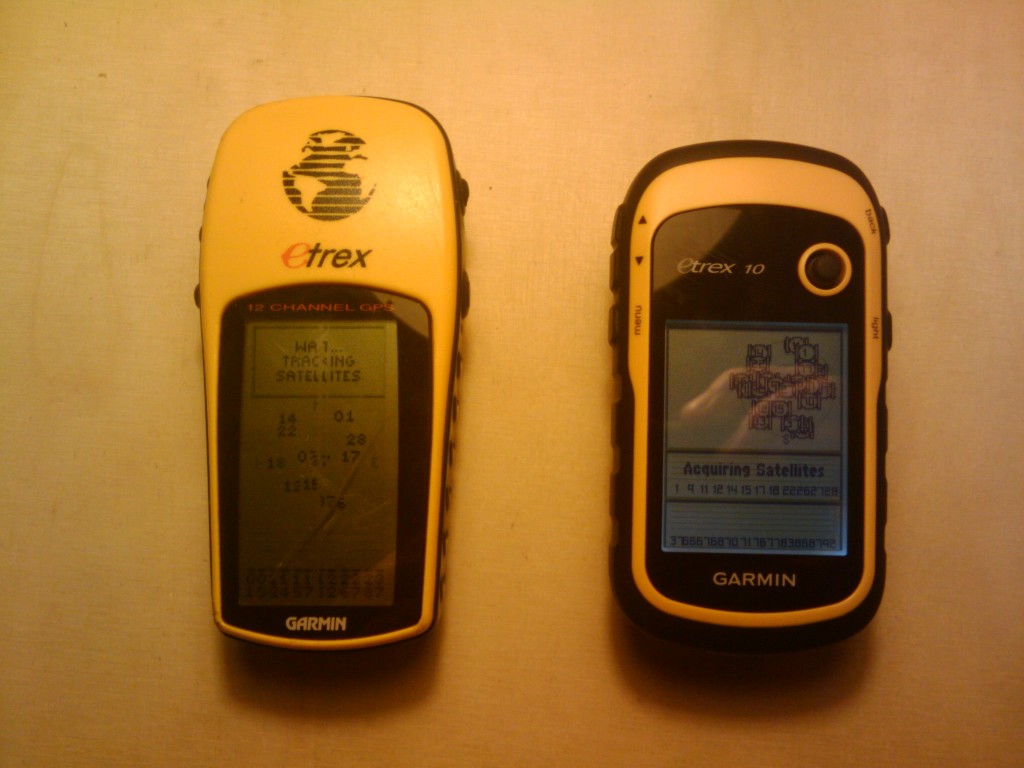
Garmin GPS Comparison Old and New Etrex

Garmin eTrexs Old and New

Garmin eTrexs Old and New

Peter kindly lent me his new Garmin eTrex 10 which he bought to go on his last trip to the States. (I think our practice inspired him to want to record his tracks too, which is nice). I’ve been testing it for a week now and I thought I’d post some reflections about it here.

Being pretty skeptical about modern, supposedly more precise but actually more sensitive GPSs (not always a good thing when you’re interested in the lines you’re drawing like we are), my interest was aroused when I saw that this new GPS can receive the both the conventional US GPS satellites as well as the Russian GLONASS system, giving far more satellites to choose from and hopefully a much more stable set of measurements and perhaps more accurate.

Bicycle Ride to Studio 2 June

Bicycle Ride to Studio 2 June

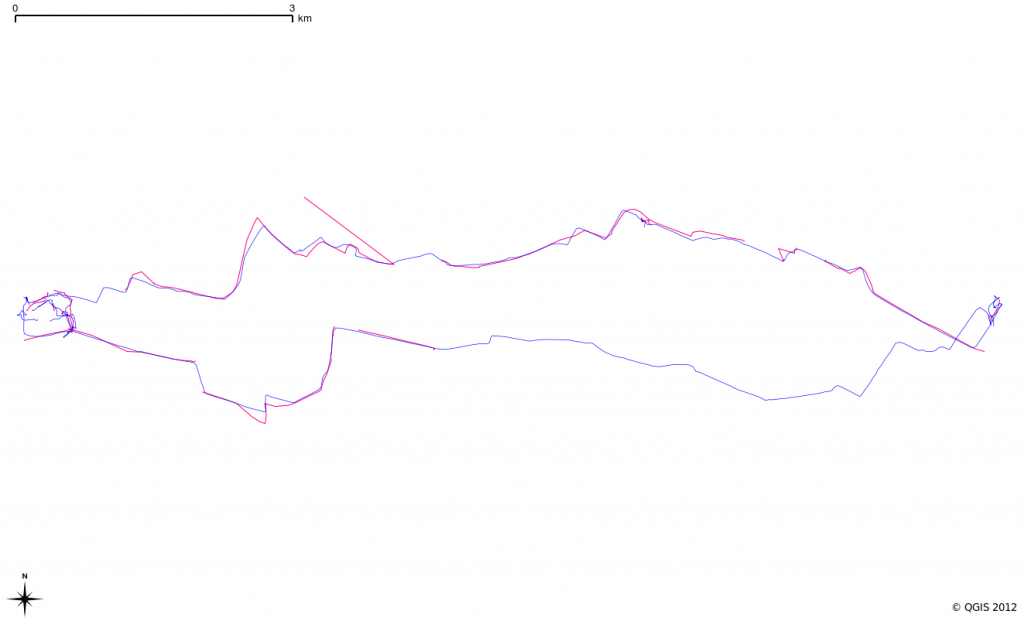
The image above, made using the highly-recommendable (and free and cross-platform and open) QuantumGIS, shows our current eTrex in magenta and the new eTrex 10 in blue. As is obvious, especially in the line to the South, the new GPS is much more stable in terms of having made many more measurements than the old one. The trip back from the studio is hardly recorded at all with the old one (magenta line) but continuous with the new. Also notice some inaccuracies and jumps in the northernmost line which are present in the old but not the new.

Brandenburg Gate Comparison

Brandenburg Gate Comparison

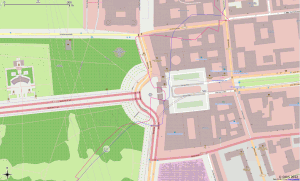
Out of all six days I recorded and compared, only once or twice did the old unit seem to perform better. If you click the image above you see that the magenta line goes in and out of the Brandenburg Gate and the blue line doesn’t. I actually had to do this on that night riding back from Mitte as there was some kind of event happening. However, the blue line is more accurate leaving the Brandenburg Gate and the magenta line is quite inaccurate.

Generally, I’m so impressed with this new GPS by Garmin that I’ll suggest to Soph that we buy two for our daily use. As well as the more stable signal, the better accuracy, they seem to have worked on their smoothing algorithms to great effect. A very big plus is that you no longer need a funky serial cable or wacky proprietary software (there were always ways around this though) to get the tracks off the unit. These come with a standard mini USB socket and the unit mounts as an external flash memory when you plug it in. Finally, the piece de resistance, it saves the current tracks, routes and waypoints as GPX so you just navigate to the folder and pull them across. The GPX file is full of useless extensions (of course) but you can strip these (watch this space – that’s the first python script I’ll be writing when I finally buy them).

Thumbs up for the new Etrex 10.

Posted in Diary, GPS, Python | Tagged , , , , , | Comments Off on Garmin GPS Comparison Old and New Etrex

Elderflower Cordial Time

It’s been a cold, wet Spring so far, but that hasn’t stopped the plants doing their thing. Last weekend was about the last (I reckon) to gather some Elderflower (Sambucus nigra). I have heard from several sources that you shouldn’t gather Elderflower in sunlight, but rather wait for an overcast day, otherwise the delicate aroma starts to turn from that sweet Elder one to something more like a cat’s bum. Finding an overcast day last weekend wasn’t hard, luckily and we went one better and gathered ours in the rain.

Elders Lurking in Park am Gleisdreieck

Elders Lurking in Park am Gleisdreieck

After a nice brunch on Hochkirschstraße with Henrik and Ellen over from Denmark, we cycled to the newest park in our (new) area, Park am Gleisdreieck where I’d seen some Elders fenced off behind some easy-to-move barriers.

Ruby and Elder

Ruby and Elder

One good thing about this site which some others I’d seen lacked, was access to the higher blossoms of the Elder. These trees (bushes) grow tall and when they are mature, the corymbs appear on the upper part of the plant, good for the flies that pollinate it, bad for the humans. Unless, that is, there are the remains of some platforms to scramble on to reach the higher branches.

Flower corymbs washed and ready

Flower corymbs washed and ready

Sort of following the recipe in Alys Fowler’s The Thrifty Forager, we soaked the flowers in a covered bowl with the sugar-water solution, some lemons and citric acid for a couple of days, strained through muslin and decanted into glass bottles.

The finished product

The finished product

Ruby and I are extremely proud of our first Elderflower Cordial and think it tastes delicious. I’m already worried about running out.

Posted in Diary | Tagged , , , | Comments Off on Elderflower Cordial Time